Summary: The AutomateSpot Workflow Library allows you to deploy ready-to-use workflows directly to your self-hosted N8N instance, without hosting them on AutomateSpot. All workflows are free, and your account on AutomateSpot is free as well.
How to Deploy Workflows
To deploy a workflow from the library to your N8N instance:
1. Select a Workflow
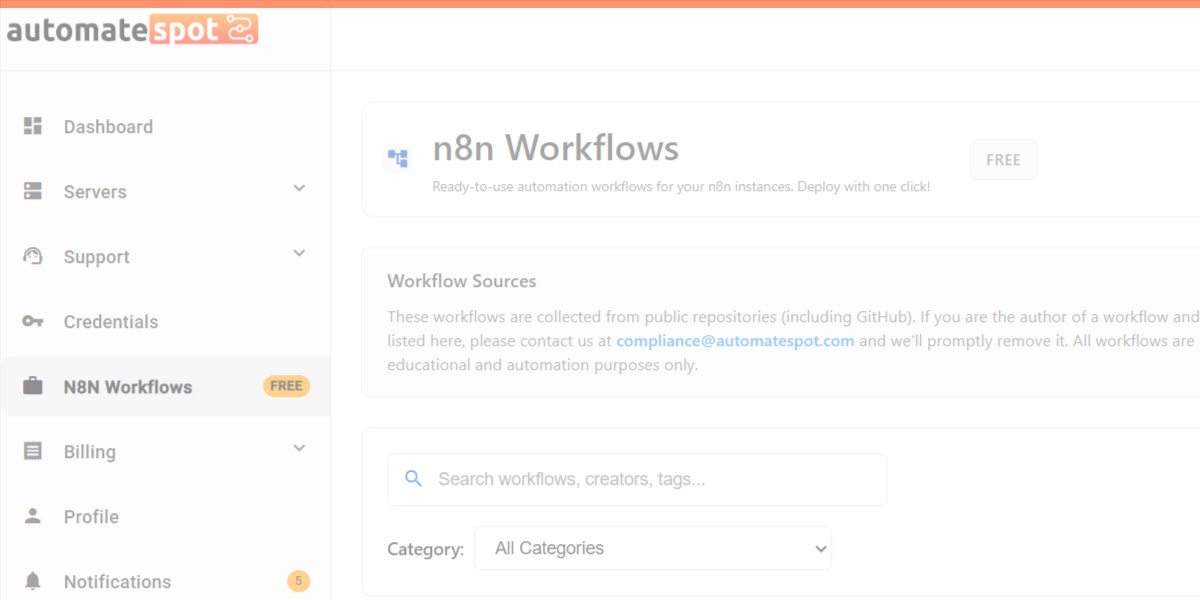
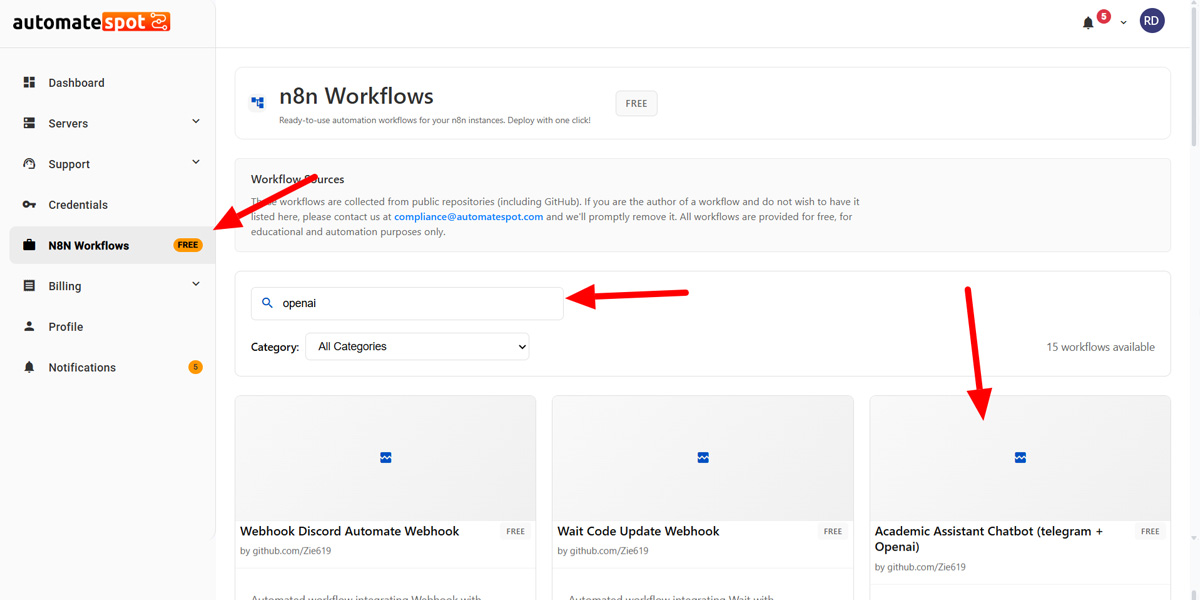
Visit the AutomateSpot Workflow Library and choose a workflow you want to use.
2. Click Deploy
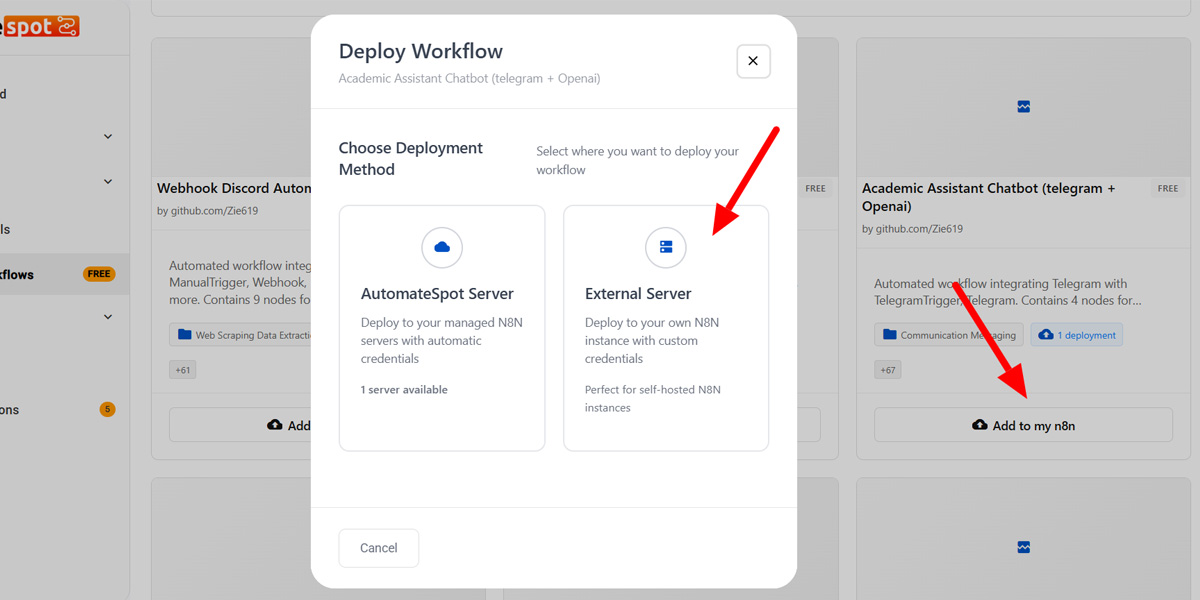
Select External Server as the deployment option:
Deploy to your own N8N instance with custom credentials. This option is ideal for self-hosted N8N instances.
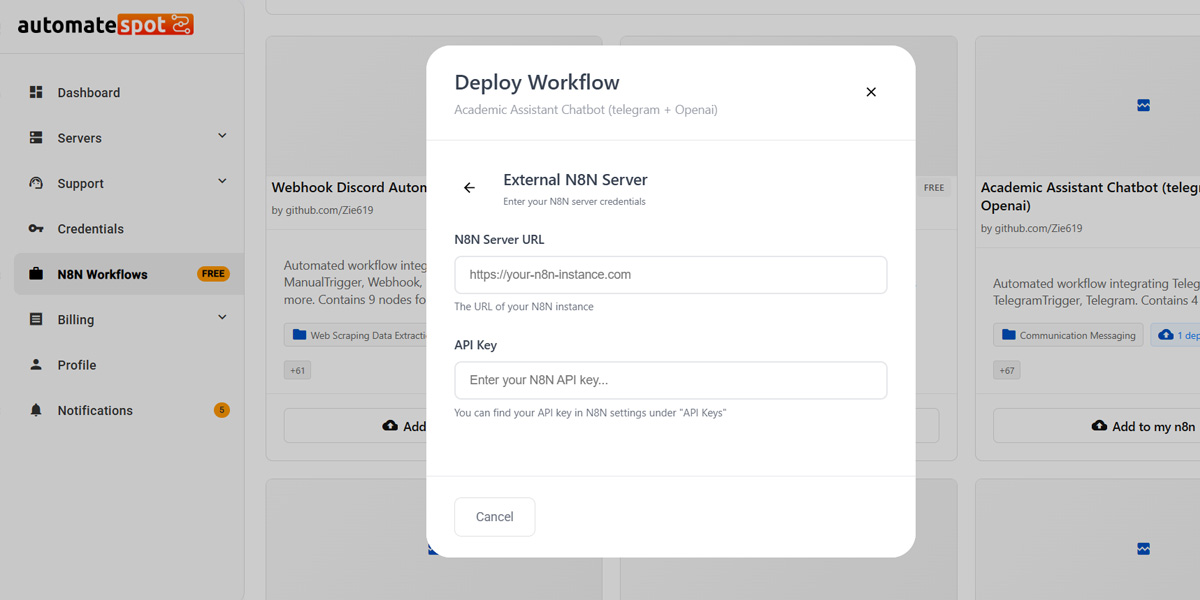
3. Provide Your Instance Credentials
Enter the details for your N8N instance:
- N8N Server URL: The URL of your N8N instance
- API Key: Found in N8N under Settings → API Settings → API Keys
Example Configuration
N8N Server URL: https://your-instance.com
API Key: ••••••••••••••••••••••••••••••••••
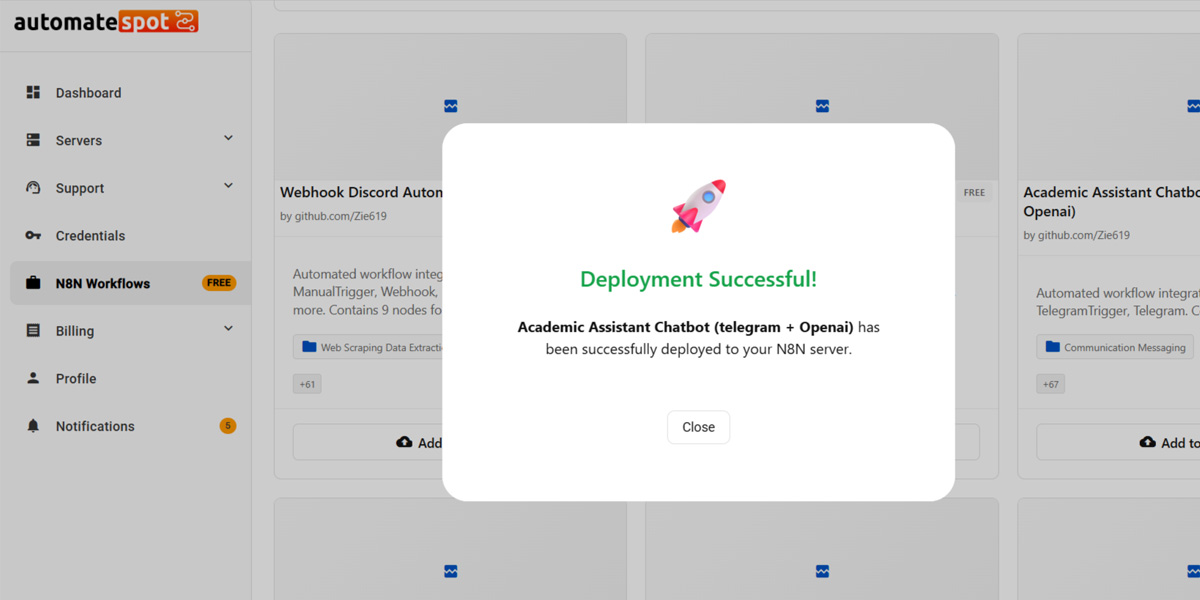
4. Deploy Workflow
Once the URL and API key are provided, the workflow is deployed automatically to your instance.
Step-by-Step Interface Instructions
Here's how users can deploy workflows and manage credentials step by step:
- Create your free account on AutomateSpot if you haven't already.
- Open the AutomateSpot Workflow Library in your browser.
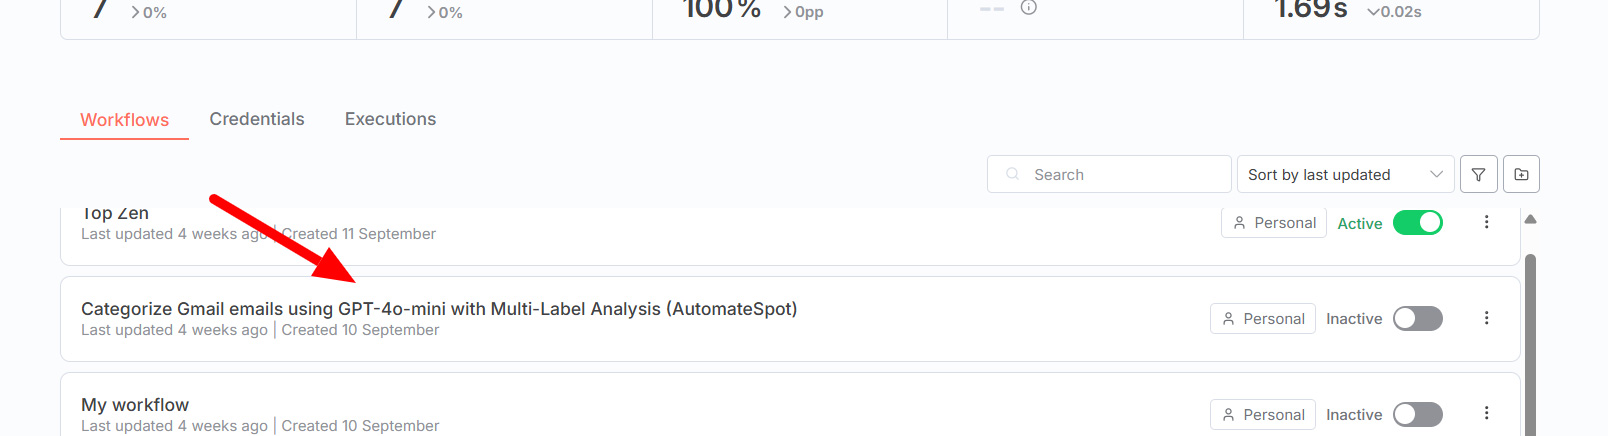
- Select a workflow you want to deploy (for example, Gmail Assistant Multi-Labels).
- Click the "Deploy" button. A popup appears with deployment options.
- Choose "External Server" to deploy to your own N8N instance.
- Enter your N8N Server URL in the corresponding field.
- Enter your email associated with the N8N instance.
- Enter your API Key:
- Go to your N8N instance → Settings → API Settings → API Keys
- Copy an existing key or create a new one
- Paste it into the deployment form in AutomateSpot
- Click "Deploy" – The workflow will be sent directly to your N8N instance.
- Activate the Workflow in your N8N instance by clicking the "Activate" button in the top-right corner of the workflow editor.
- Verify Credentials – Ensure Gmail and OpenAI credentials are configured for the workflow to run correctly.
- Monitor Deployment – The workflow is now live and automatically performs its tasks.
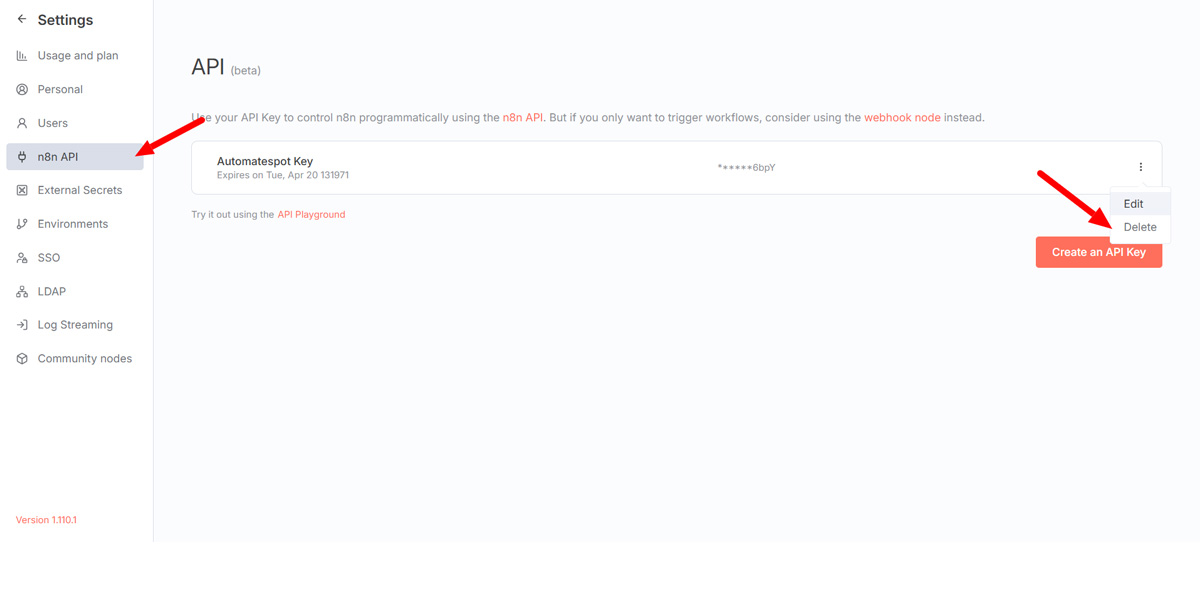
Managing API Key Access
For security, you can create or revoke API keys directly in your N8N instance:
- Navigate to your N8N instance → Settings → API Settings → API
- To create an API key: Click Create API Key and optionally name it AutomateSpot
- To revoke access: Delete the key after deployment
Security Best Practice
This ensures that AutomateSpot can deploy workflows temporarily, without maintaining long-term access unless you choose to do so.
Example Workflow: Gmail Assistant Multi-Labels
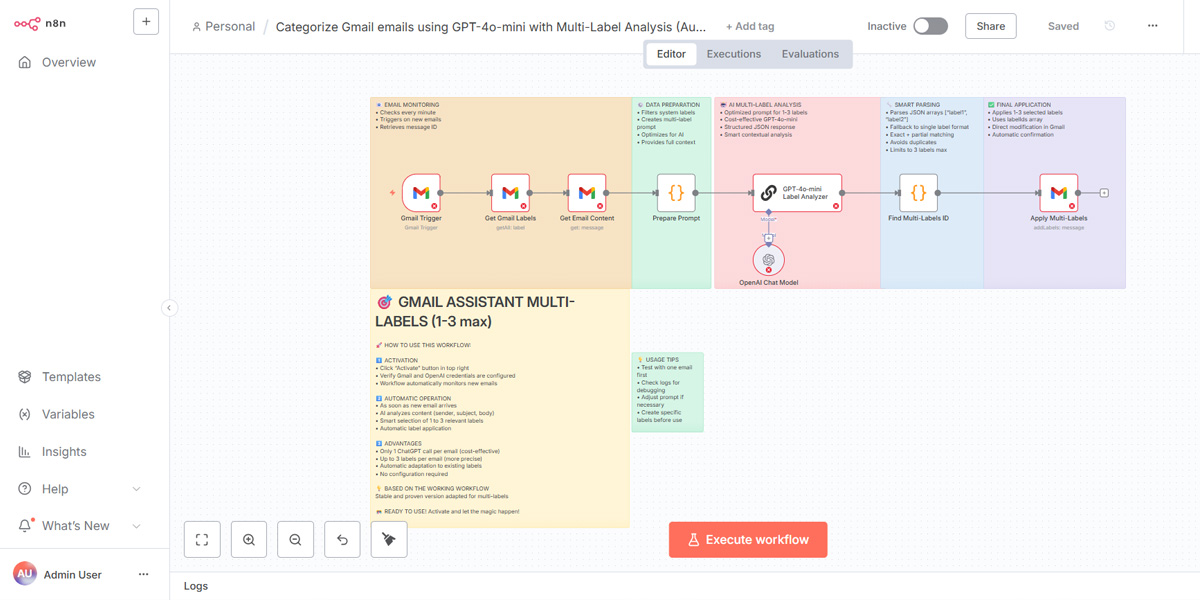
The Gmail Assistant Multi-Labels workflow automatically labels new incoming Gmail messages using OpenAI's ChatGPT. It is based on a stable workflow adapted to handle multiple labels.
How to Use This Workflow
Activation
- Click the Activate button in the top-right corner of the workflow editor
- Verify that your Gmail credentials and OpenAI credentials are configured
- The workflow automatically starts monitoring incoming emails
Automatic Operation
When a new email arrives:
- The workflow sends the email content (sender, subject, body) to the AI node
- ChatGPT analyzes the content
- The workflow selects 1 to 3 relevant labels
- Labels are automatically applied to the email
Workflow Advantages
- Only 1 ChatGPT call per email (cost-efficient)
- Assigns up to 3 labels per email
- Automatically adapts to your existing Gmail labels
- No extra configuration is required
The workflow is ready to use once deployed and activated.
Why Use the AutomateSpot Workflow Library
| Feature | AutomateSpot Library | Building from Scratch |
|---|---|---|
| Time to Deploy | 2-3 minutes | Hours to days |
| Cost | Free | Development time |
| Testing Required | Pre-tested workflows | Extensive testing needed |
| Maintenance | Updated by AutomateSpot | Self-maintained |
| Control | Full control (self-hosted) | Full control |
- Instant Deployment – Deploy workflows directly to your self-hosted N8N instance
- Secure – Remove API keys or revoke access anytime
- Free – Both your account and workflows are completely free
- Ready-to-Use Automations – The library includes workflows that are already tested and functional
Get Started Now
Create your free AutomateSpot account, connect your N8N instance using your API key and server URL, and deploy workflows from the library instantly.
You retain full control of your workflows and credentials, while AutomateSpot makes deployment fast and simple.
Ready to Start Automating?
Join thousands of users who are already using the AutomateSpot Workflow Library to streamline their automation setup. Create your free account and deploy your first workflow in minutes.
Free account • Deploy in under 5 minutes • No credit card required
Workflow Sources
These workflows are collected from public repositories (including GitHub). If you are the author of a workflow and do not wish to have it listed here, please contact us at compliance@automatespot.com and we'll promptly remove it. All workflows are provided for free, for educational and automation purposes only.
By: Lahoucine Taqi, Full-Stack Developer.